
How to Install a Dog Back Seat Extender: Step-by-Step Guide
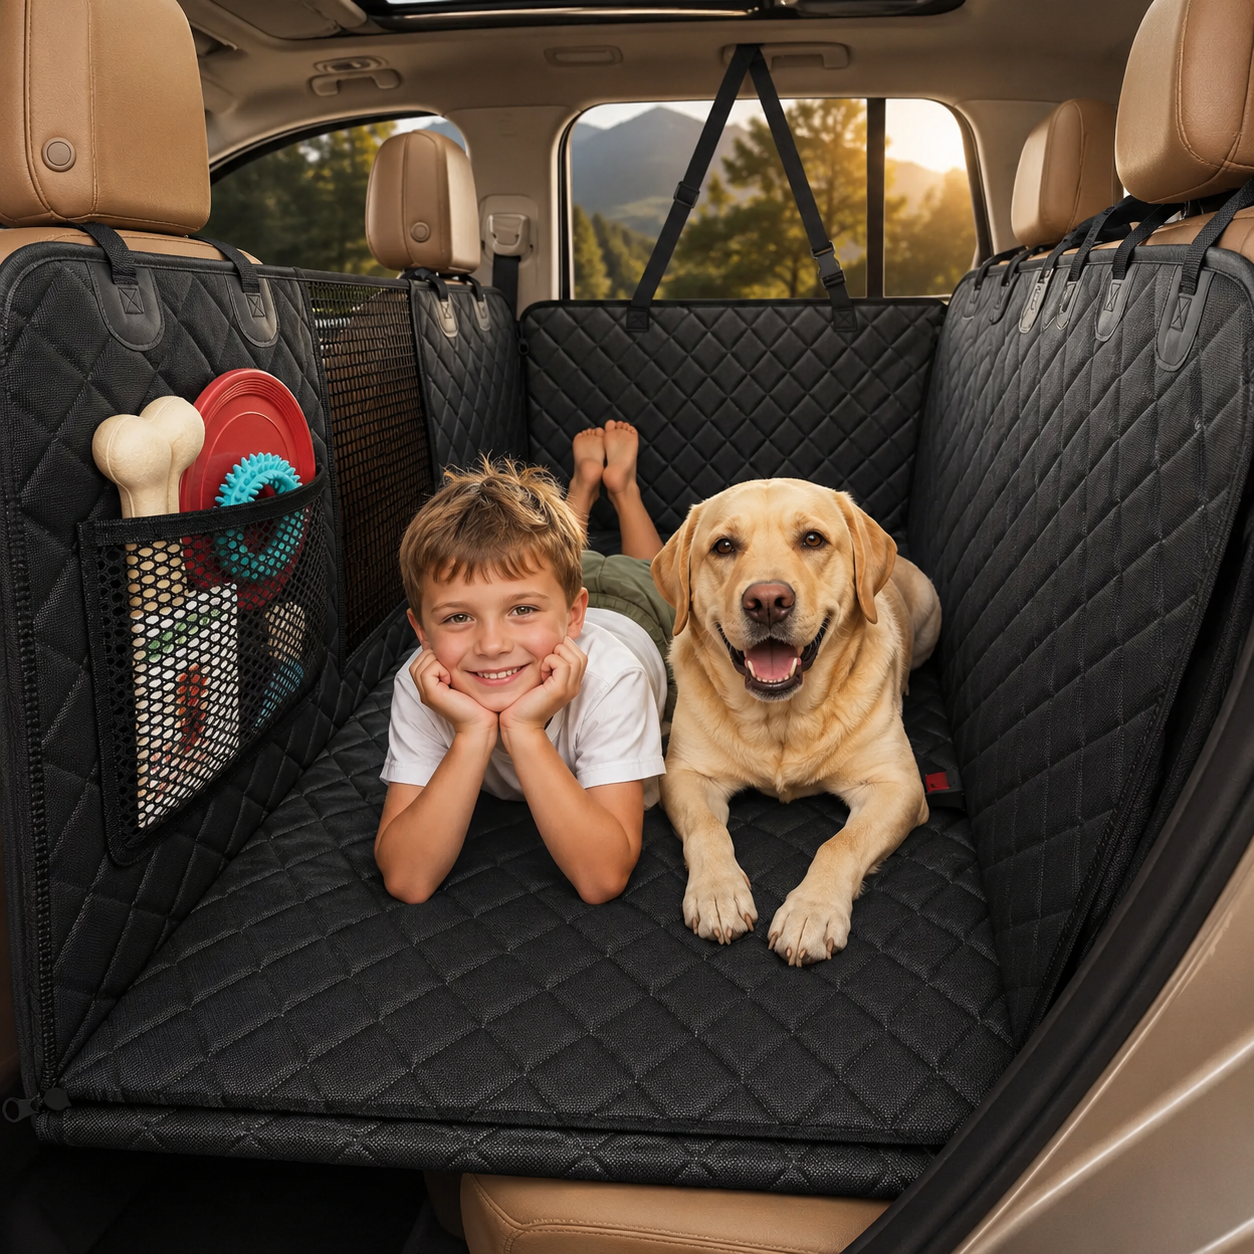
A hard-bottom dog back seat extender can turn the rear bench and footwell area into a wider, more usable travel surface. The installation is usually straightforward, but the small checks you make before your dog gets in—strap tension, panel position, seat-belt access, and door clearance—make the setup more comfortable and easier to use.
This guide explains how to install a dog back seat extender step by step. The exact hardware may vary by model, so always follow the instructions supplied with your product. If you are using the PupBench Road Bed, use these steps as a pre-trip checklist.
Before you begin
Park on a level surface, switch off the vehicle, and open both rear doors. Remove child seats, loose objects, blankets, and anything else that could sit under the platform. Vacuuming the rear bench and footwells first also helps the anchors and panels sit correctly.
Check that your vehicle has the attachment points required by your extender. Most hammock-style extenders use the front and rear headrests, seat anchors, or a combination of both. If your rear headrests are fixed or integrated into the seat, confirm compatibility before forcing a strap into place.
Step 1: Unfold the extender outside the car
Lay the extender flat so you can identify the front, rear, side panels, mesh window, seat anchors, and any openings for a dog seat belt. Untwist every strap before installation. Starting with straight straps makes it easier to create even tension later.
If the extender has removable hard panels, confirm that each panel is seated in the correct sleeve and fully supported. Do not use the platform if a panel is cracked, badly warped, or positioned only partly inside its pocket.
Step 2: Position the rear section on the back seat
Place the rear edge against the seat back, with the main surface covering the seat cushion. Center the extender from left to right before attaching anything. A centered setup gives the side panels equal room and helps keep the supported section aligned over the footwell.
Keep the seat-belt slots or restraint openings visible. Do not cover or route straps across buckles that you intend to use.
Step 3: Attach the rear headrest straps
Loop the rear straps around the rear headrests and connect the buckles. Tighten each side gradually rather than pulling one side fully tight first. The fabric should sit smoothly against the seat back without lifting the rear edge off the bench.
The straps are meant to hold the cover in position; they should not deform the headrest posts or pull the seat cover upward. Recheck both sides after you install the front section.
Step 4: Extend the hard bottom across the footwell
Unfold the reinforced base toward the front seats so the supported panels bridge the rear footwell. The panels should lie flat and meet each other evenly. Make sure no section is trapped under a front-seat rail, folded over a floor mat, or resting against a sharp object.
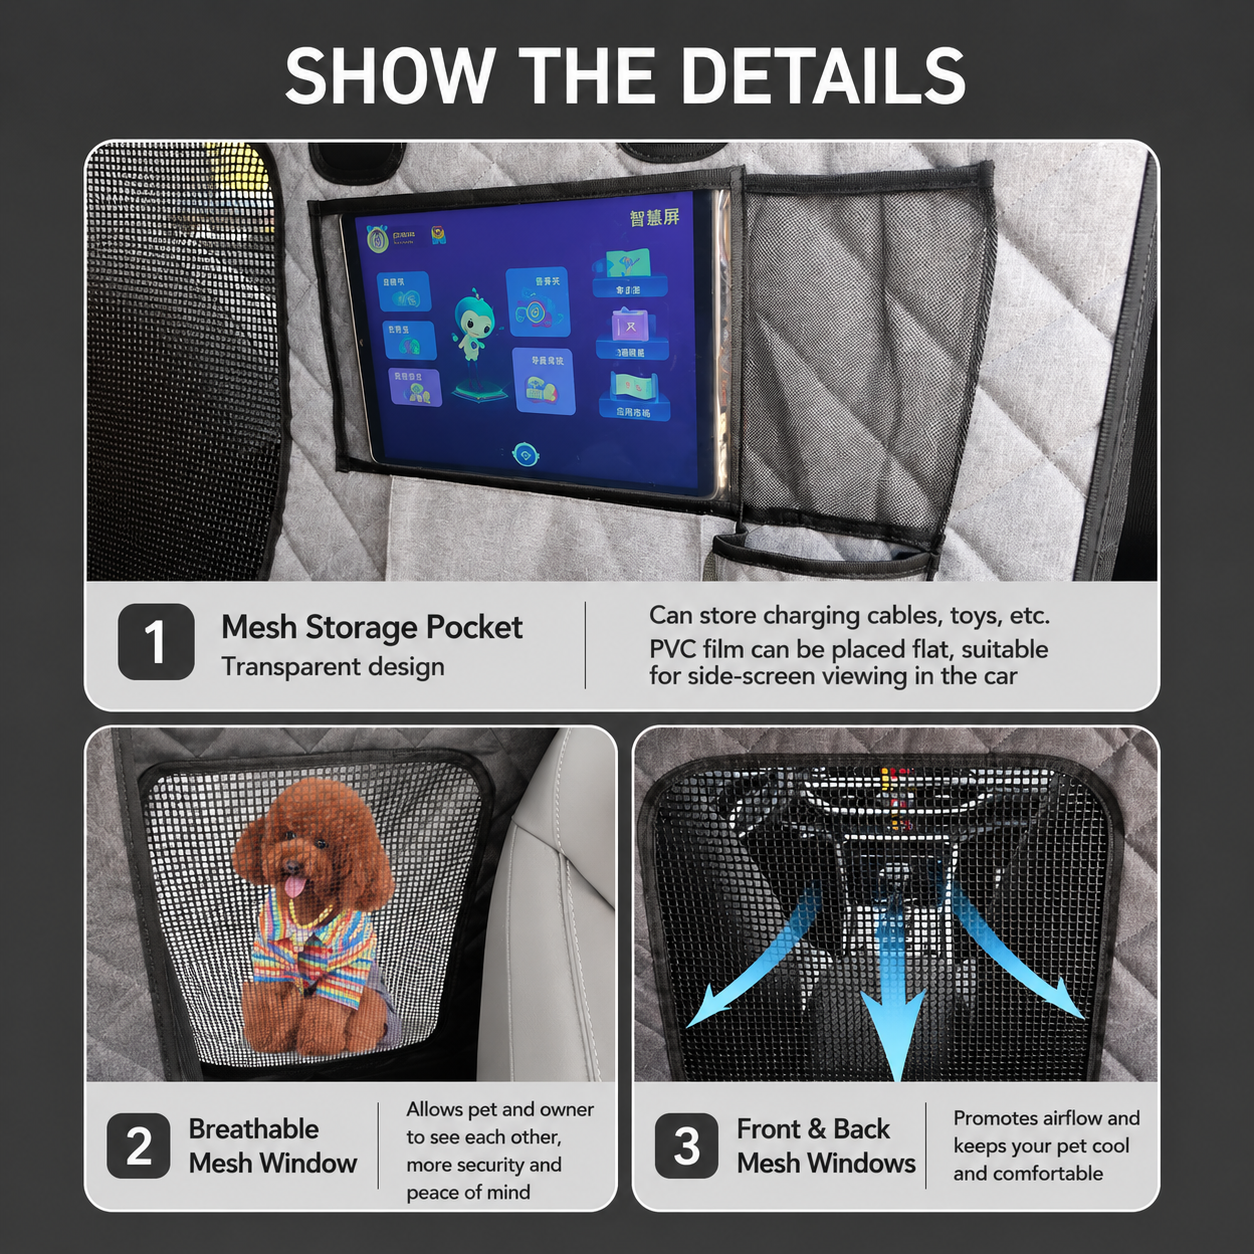
If the front seats are set at very different positions, the platform may sit at an angle. Adjust the seats when practical, while preserving a safe driving position and adequate room for every passenger.
Step 5: Attach the front headrest straps
Loop the front straps around the front headrests and fasten the buckles. Tighten them evenly until the front wall is supported and the mesh section is upright. Avoid over-tightening: excessive tension can pull the platform forward or make the side panels buckle.
From outside the car, look across the surface. It should appear level and centered, without a large sag toward either footwell.
Step 6: Secure the seat anchors and side panels
Push the seat anchors into the gap between the rear seat back and cushion, if your model includes them. Attach the side panels or door-protection straps according to the product instructions. Close each rear door slowly the first time to confirm that fabric, clips, and zippers are clear of the latch.
Side protection should cover the areas your dog naturally touches without interfering with door handles, window controls, or airbags. Never route a strap across an airbag-marked area.
Step 7: Preserve access for a harness or restraint
A back seat extender creates space and protects the vehicle, but it is not a crash-tested restraint unless the manufacturer specifically states otherwise. Use a properly fitted dog travel harness or restraint appropriate for your vehicle and dog.
Pass the restraint through the intended opening and make sure it connects without twisting. Give your dog enough room to sit or lie down, but not enough slack to reach the driver or become tangled around a leg.
Step 8: Perform a stability check
Before loading your dog, press firmly on several points across the supported surface with your hands. Check that:
- The hard panels remain flat and fully supported.
- The extender does not slide sharply toward either door.
- All buckles are closed and straps are free of twists.
- Seat-belt openings remain accessible.
- No fabric is trapped in a door or seat rail.
- The surface is dry and free from loose objects.
Repeat this quick check before longer drives and after moving either front seat.
Help your dog get comfortable with the new setup
Let your dog inspect the extender while the vehicle is parked. For a cautious dog, begin with the doors open, reward calm behavior, and take a short familiar drive before attempting a long road trip. A familiar blanket can help, provided it lies flat and does not hide buckles or restraint openings.
Large dogs may need a moment to learn that the footwell area is now supported. Guide them in calmly rather than pulling them onto the platform.
How to fold it away for passengers
If your extender supports a split or partial configuration, detach only the straps required by the product instructions and fold the unused section neatly. Confirm that the remaining dog area is still supported and that the passenger has normal access to a seat belt, footwell, and door.
For complete removal, shake off loose fur and dirt, wipe the surface if needed, and let it dry before folding. Store it flat or in its storage bag so the hard panels do not bend.
Common installation mistakes
- Skipping the fit check: measure the rear bench and confirm the attachment points before ordering.
- Over-tightening one side: adjust left and right straps in small, even steps.
- Covering seat-belt access: plan the restraint route before your dog gets in.
- Closing a door on fabric or hardware: test both doors slowly after setup.
- Assuming the extender replaces a harness: use an appropriate dog restraint on every trip.
- Leaving wet gear inside: remove damp towels and let the cover dry to reduce odor.
Final pre-trip checklist
Walk around both rear doors, press-test the platform, check every buckle, connect your dog's restraint, and remove loose travel items. Once the setup is stable, start with a short drive and recheck the straps after the first trip.
For a hard-bottom setup with water-resistant protection, raised side panels, and flexible rear-seat configurations, see the PupBench Road Bed.